File en Camera Upload
Met de upload-functionaliteit in LesLinq kan je aan elk element (een knop, een afbeelding, een icoon, etc.) in je microlearning een upload-actie toevoegen. Hiermee kunnen de deelnemers van je microlearning rechtstreeks vanuit de digitale instructie / training een foto maken en uploaden.
Dit werkt als volgt:
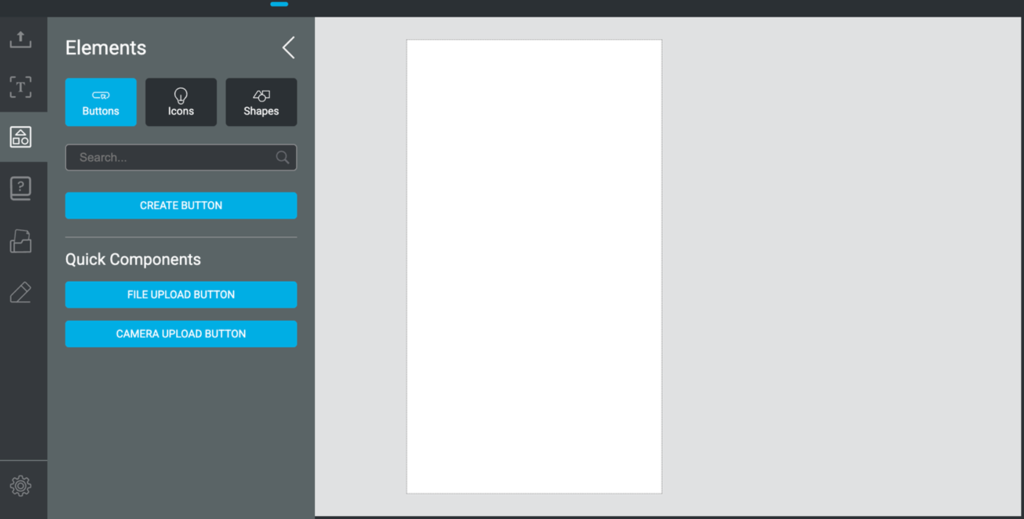
- Open in je project het ‘Elements’ panel vanuit het menu aan de linkerkant
- Onder het kopje ‘Quick Components’ zie je nu 2 nieuwe opties:
- File Upload Button
- Camera Upload Button
- Dit zijn voorgeprogrammeerde componenten waar de actie ‘Upload’ aan gekoppeld is.
File Upload Button
Wanneer je klikt op ‘File Upload button’ wordt onderstaand icon aan je project toegevoegd.
Gebruik deze functie als je wilt dat je deelnemers afbeeldingen of bestanden uploaden die op hun system zijn opgeslagen. Het bestand wordt opgeslagen in de rapportage van de microlearning.
Je kunt het ‘upload file’ icon in je project naar wens stylen: kleur, afmeting, positie, etc. Wil je een ander icon gebruiken? Ook dat kan.
Camera Upload Button
Wanneer je klikt op ‘Camera Upload button’ wordt onderstaand icon aan je project toegevoegd.

Gebruik deze functie als je wilt dat je deelnemers real-time vanuit de microlearning een afbeelding of video maken en deze uploaden. Als een participant vanuit de microlearning op het icon klikt, wordt de camera-functie van het apparaat ingeschakeld en kan de participant direct een foto of video maken en deze uploaden. De foto of video wordt opgeslagen in de rapportage van de microlearning.
Je kunt het ‘upload file’ icon in je project naar wens stylen: kleur, afmeting, positie, etc. Wil je een ander icon gebruiken? Ook dat kan.
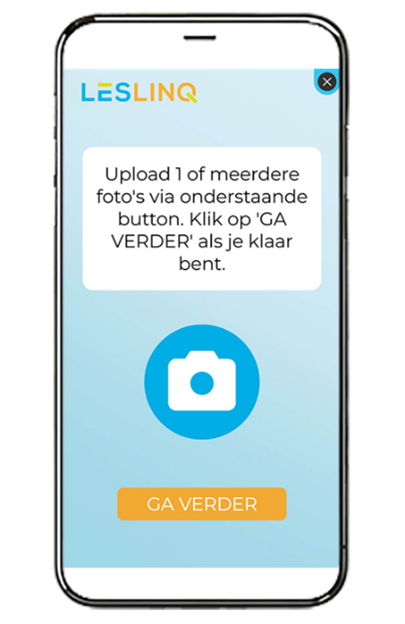
Voorbeeld van een ‘Camera Upload Button’ in een project:
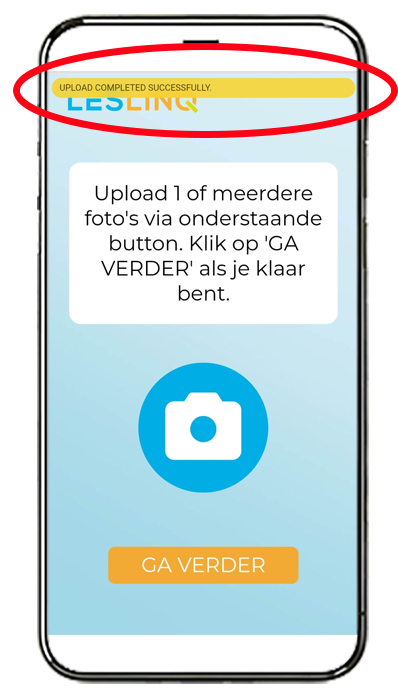
Wanneer de deelnemer de foto, video of het bestand heeft geüpload, verschijnt er een melding in beeld dat de upload succesvol was.
Uploadfunctie als actie toevoegen aan elk element
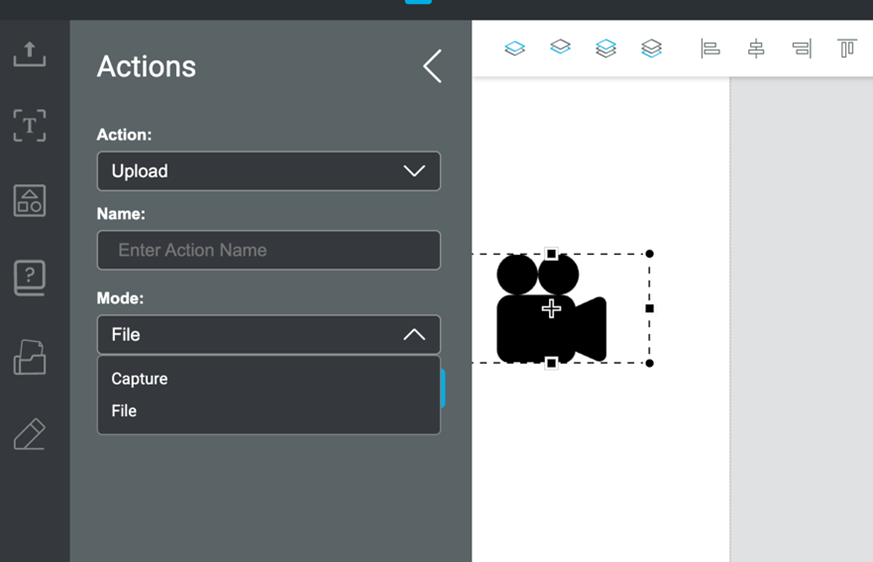
De uploadfunctionaliteit is als een 'action' toegevoegd aan het action panel van LesLinq. Dat betekent dat je de action ‘Upload’ aan elk willekeurig element in LesLinq kunt toevoegen. Wanneer je de Upload Action selecteert, kies je vervolgens uit 2 Modes: Capture (om direct foto’s of video’s te maken en te uploaden) of ‘File’ (om bestanden die op het apparaat staan te uploaden).
De Camera Upload Button werkt alleen op mobile devices (telefoon / tablet). Wanneer een deelnemer de learning maakt vanaf een desktop, wordt de Camera Upload functie omgezet in de File Upload functie.