Recently a few new Interactive Sets have been added to LesLinq. They are perfect for giving your project a quick start. One of these newly added Interactive Sets is the Harlem Timeline. In this article we’ll explain how to use it and adjust it to fit your needs.
Add the Harlem Timeline to your project

First you need to add the Harlem Timeline to you project. For that you click on the interactive sets in Toolbar.
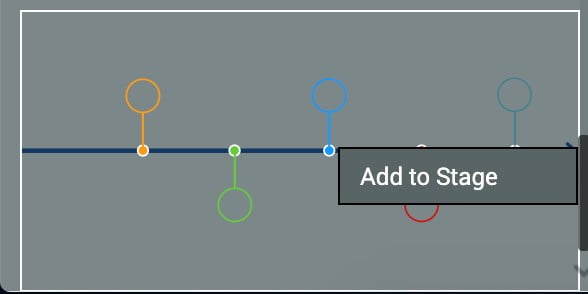
Than you select the Harlem Timeline and click on “Add to stage”

Adjusting the style of the Harlem Timeline
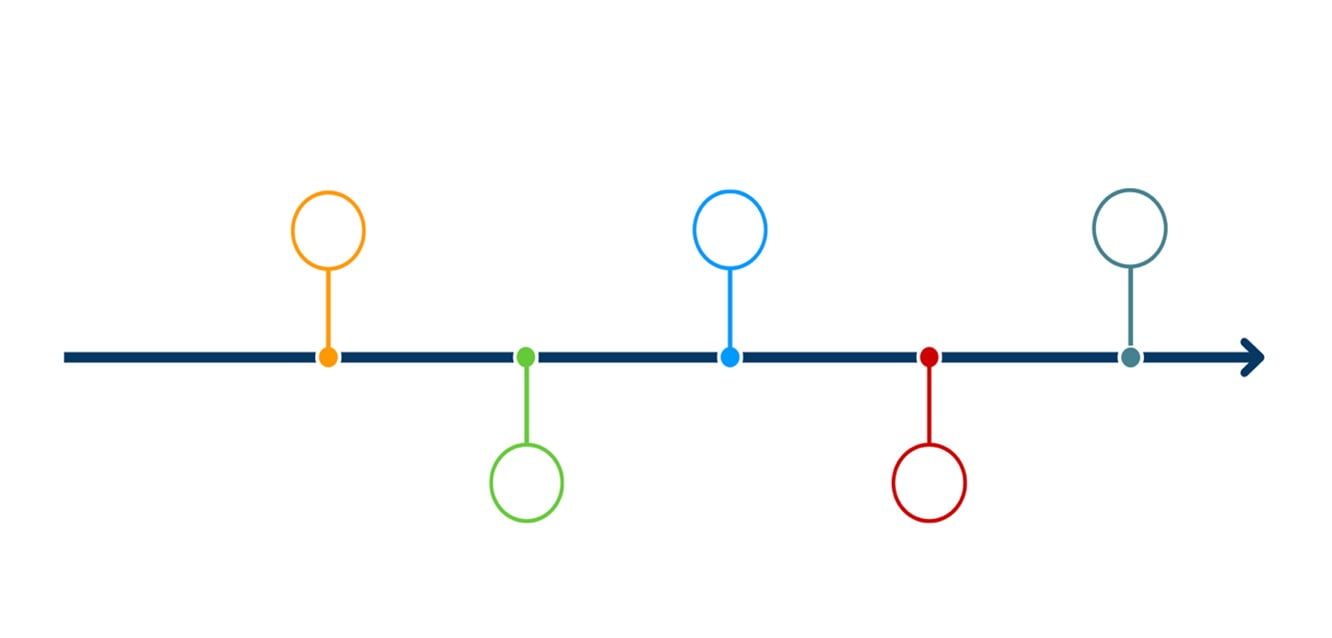
Doubleclick on the element in the timeline that you want to adjust (circle or line in this example) and keep on double clicking until you can select the individual element.
On the left side, the editor appears in which you can change color, style and animation style.
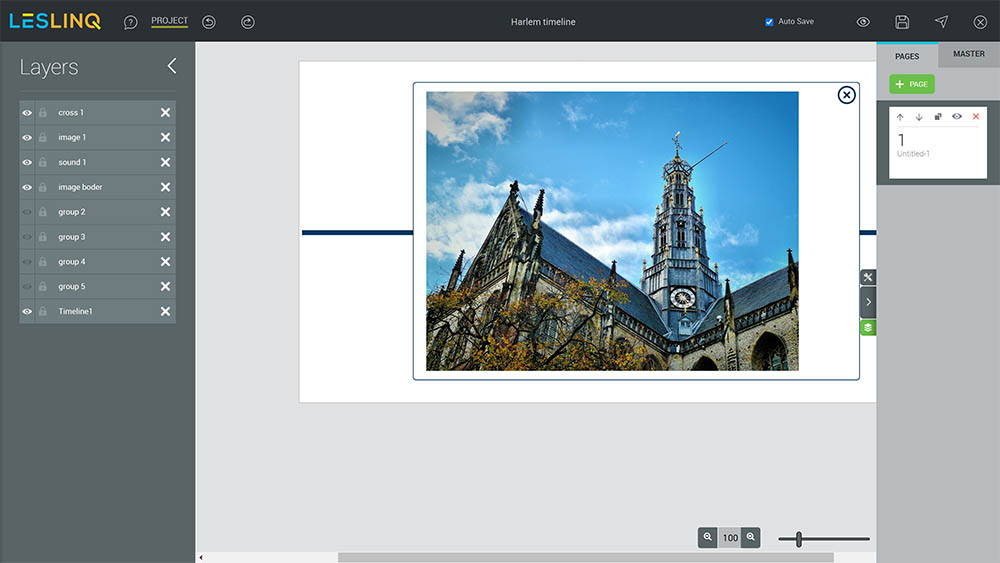
 Again, click once on the timeline. Than click on the layers icon, at the right side of your screen. You now see, the Timeline layer and the hidden layers ‘group 1’ to ‘group 5’.


Adjusting the interactive content
To change the content that appears when you click on one of the circles in the timeline, you first need to make the content visible. To do that, click on the page (untitled 1) or another button outside the canvas, than click again once on the timeline. Now click the properties button. On the left side you see that the Timeline is a grouped item. Click on the button UNGROUP to ungroup the timeline.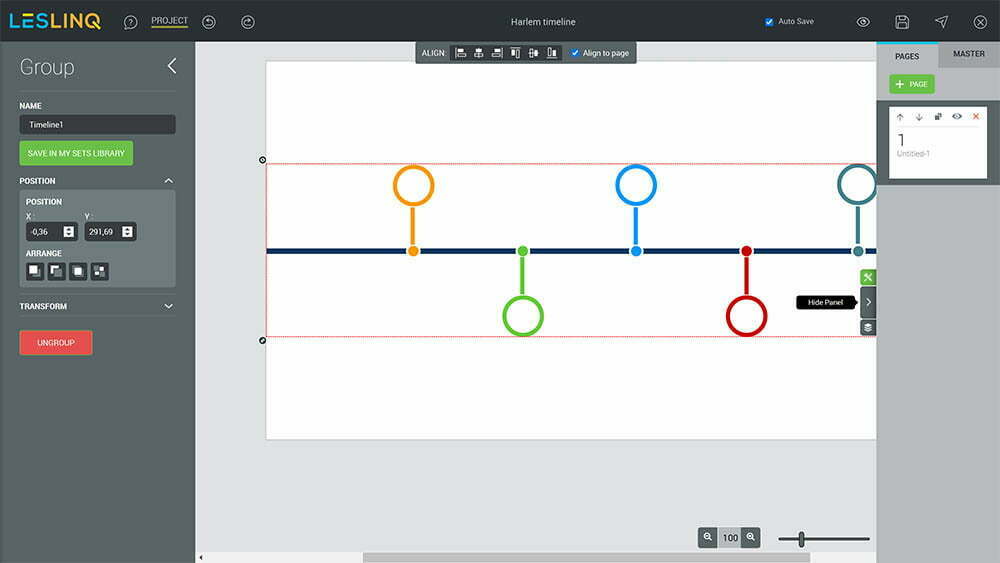 Again, click once on the timeline. Than click on the layers icon, at the right side of your screen. You now see, the Timeline layer and the hidden layers ‘group 1’ to ‘group 5’.
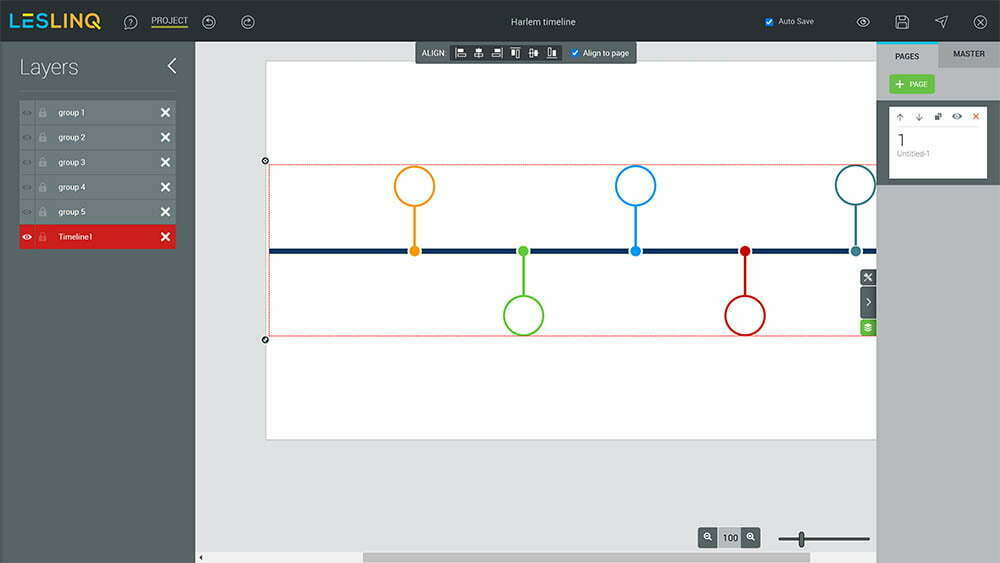
Make hidden layers visible
You can make the hidden groups visible by clicking on the eye icon. When the group has become visible, click on in the canvas on the group that you’ve made visible. Than click on the ‘properties’ icon and ungroup all items. Now, all elements are visible in your canvas and you can edit the elements just by double clicking on each element that you want to adjust.